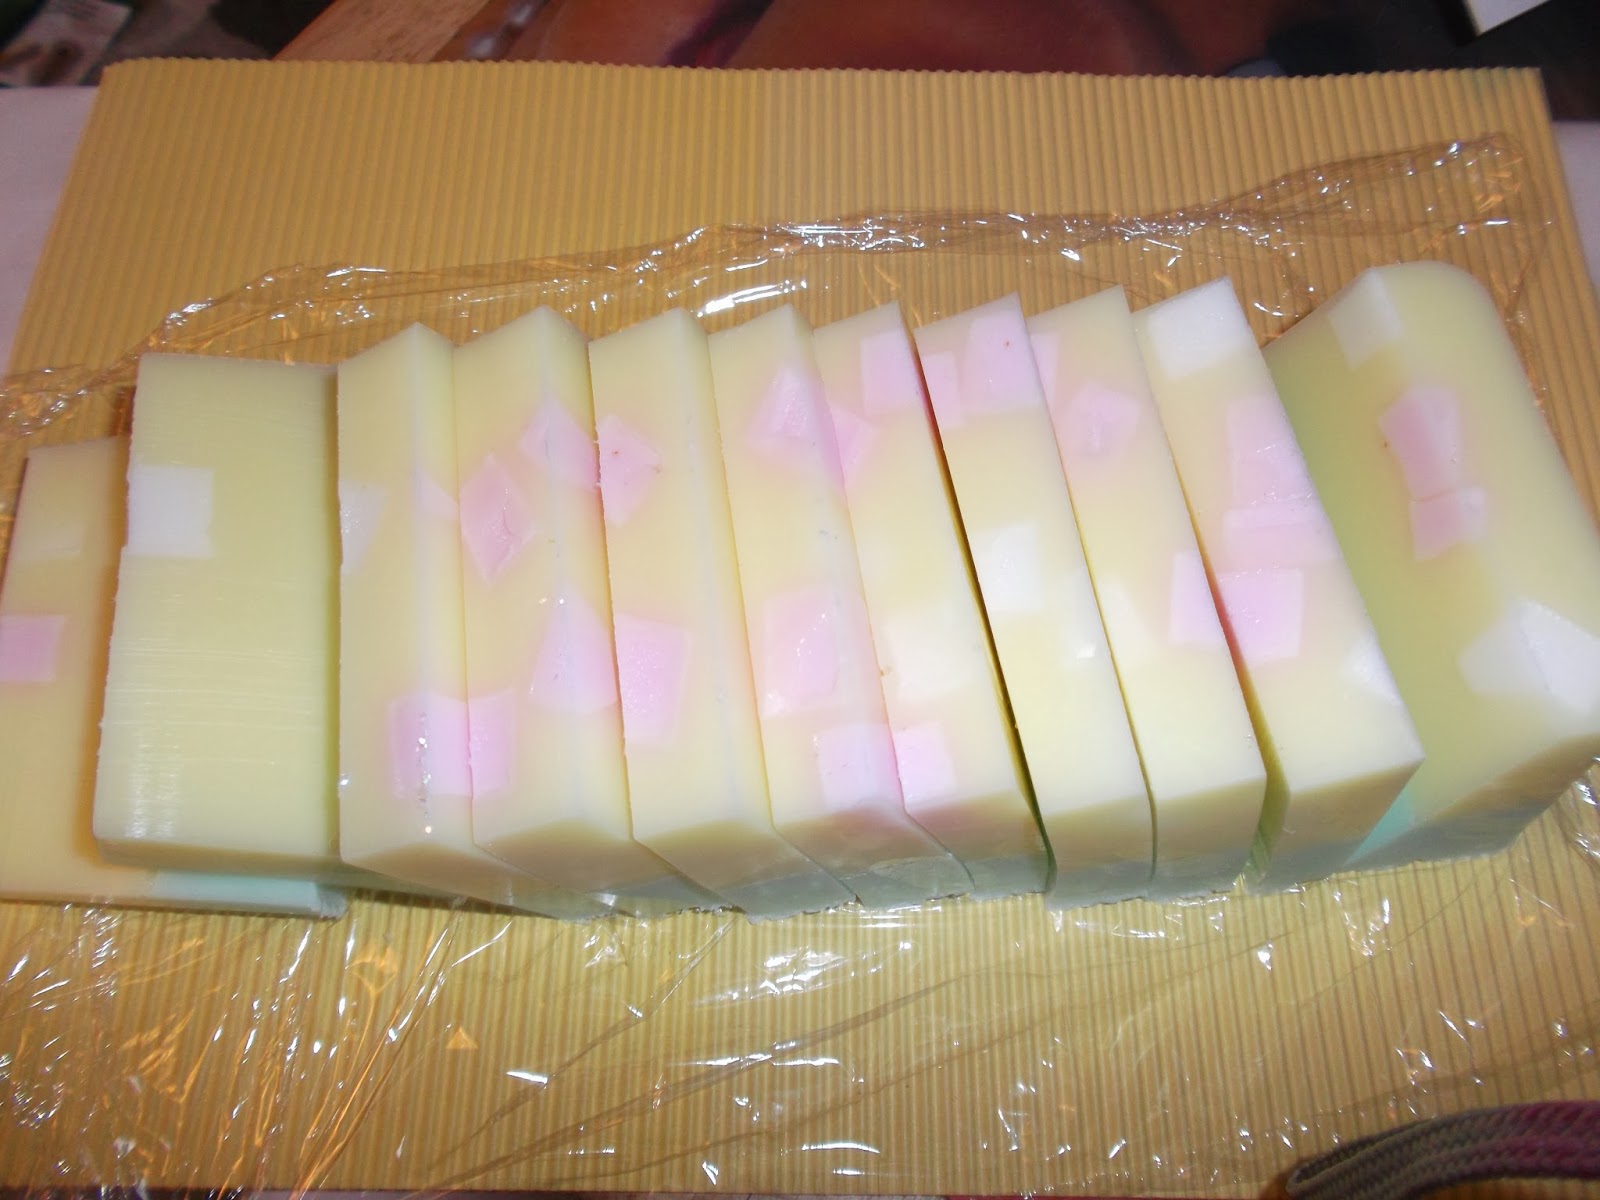
I invested in some cute moulds and have been experimenting..
Hi and welcome to Jennifer's arts & crafts blog!!
Translate
Friday, 28 August 2015
I'm back!!
I am sorry for not updating in a while - life has got in the way....but here are some of my latest soap makes:
Monday, 3 February 2014
ATC's
When I first heard about ATC's I thought they were a strange craft. It was in fact a former penpal who introduced me to them. I was hooked within two makes! For those of you who live in the UK you might be interested to know that the stationery store ''The Works'' has a good range of ATC kits for sale (even online)!!
Here are some ATC's I made recently:
Wednesday, 29 January 2014
Latest crafty makes...
I always find a sense of deep relaxation after I have completed a project. Here are some things I made lately:
| I tried quilling for the very first time, quite surprisingly it was very easy & I soon got the hang of it! |
| Valentines Card |
| A gothic present for my sister (framed skull) |
| Nutty Owl - knitted by me |
![]() | ||||||||||||||||||||||||||||||||
| Long term project - Papier mache vase! |
| Dolphin picture for my mother-in-law |
Monday, 7 October 2013
Scrumptious Soap Giveaway....
As you know I have been crazy about making soaps this last while.....I am giving away a piece of my Banana & Pear Delight homemade soap & one of my Strawberry & Vanilla Dream soaps (see pictures below)...to a lucky winner. Just leave a comment below in the comments section to be included in the draw!! Both are made of goats milk soap base which provides rich moisturizing properties with no harmful ingredients and is ideal for sensitive skin. Both aren't tested on animals either and contains no animal oils. So, good luck!!
Friday, 4 October 2013
Banana & Pear Delight...another variation of my homemade loaf soap!
| I am getting addicted to making these! |
| Looks almost good enough to eat & smells heavenly too! |
| Et, voila! |
Wednesday, 2 October 2013
Strawberry and vanilla cream loaf soap!
I treated myself to some more soap making supplies over the weekend and here's what I made using a silicone loaf mold with the same principle as the previous recipe!
I inserted some soap cubes/embeds onto the bottom of the mold before pouring the first layer of soap base into it. After waiting for the first layer (vanilla cream) to cool slightly, I added a second layer (strawberry).
I left this to cool down overnight and removed the mold.
Here comes my favourite bit - the slicing!
I used clear cellophane to wrap the soaps and make them attractive and finished off with some labels.
There you have it - some great stocking fillers for Christmas!!
Sunday, 29 September 2013
Soap fun!
To make soap, the following basics are needed:
Soap mould
Melt & Pour soap base (cubed is better as it melts more effectively)
Cosmetic fragrance - 1/2 drops per 100g base
Cosmetic colour - 1/2 drops per 100g base
Microwave/plastic jug/stirrer or spoon
Method:
Soap mould
Melt & Pour soap base (cubed is better as it melts more effectively)
Cosmetic fragrance - 1/2 drops per 100g base
Cosmetic colour - 1/2 drops per 100g base
Microwave/plastic jug/stirrer or spoon
Method:
- Firstly, measure out the soap base (100g of base for every 100ml approx).
- Melt the base at intervals of 30 seconds in the microwave - use the defrost button
- Make sure not to over melt the base.
- When cooled but not yet hardened, add the fragrance , followed by the colour ~ drop by drop.
- Mix thoroughly.
- Pour into the moulds and allow to set.
- That's it!
For this recipe, I am adding some pre-made soap cubes for an interesting effect.
| A selection of cosmetics colours/fragrances |
| Filled soap mould |
| Finished soaps |
| And there's more... |
| Cute bear guest soaps |
| My handmade labels for the soap packaging! |
Saturday, 28 September 2013
Bubbles galore!
I have dabbled in soap-making in the past but my passion for this craft has suddenly resurged!
I am so grateful for the amount of resources out there that help beginners like myself - from tutorials to soap packaging ideas, there really is no shortage of ideas! Watch this space!
Sunday, 15 September 2013
Free craft giveaway!!
I am going to host a free giveaway now ~ for a chance to win the following pictured craft items, please write in the comments section below, what you think is a good craft tip or piece of advice? It can be related to any kind of craft so get your thinking caps on!!!! The best answer wins!!
The lucky winner will receive:
3 sheets of stickers, 2 packs of embellishments and a cute owl rubber stamp ~ everything is brand new!
My latest makes...
I was kept busy when I had some free time with my son being over at his granny's last weekend.
First up was the realisation that I had already bought myself some decopatch papers whilst on holiday in Krakow earlier this year so, I figured I might as well put them to some use. I had a blank wooden pen box lying about ~ so I covered this with brick design decopatch paper and decorated it with a bicycle embellishment, like so:
Then, I embellished the reverse side in a similar way ~ this is very simple to make...isn't it cute?!?
* * *
First up was the realisation that I had already bought myself some decopatch papers whilst on holiday in Krakow earlier this year so, I figured I might as well put them to some use. I had a blank wooden pen box lying about ~ so I covered this with brick design decopatch paper and decorated it with a bicycle embellishment, like so:
Then, I embellished the reverse side in a similar way ~ this is very simple to make...isn't it cute?!?
* * *
Next up, I made some cards with Christmas being just over 100 days away...
I used rubber stamped images on blank white labels for the above card - on top of a foil piece of backing card.
My twin nephews gave me the inspiration for this card.
Kid's birthday card (Mr Men design)
Oriental themed card ~ materials used: blue oriental fabric covered paper, double fish sticker
Chinese girl & baby embellishment, paper borders.
Simple girly birthday card
* * *
A scrapbook page I created for Christmas 2012!
Tuesday, 5 February 2013
Art is relaxing....
I have been feeling quite artistic as of late...and my first attempt at a self portrait was encouraged by my son who 'showed' me how to use soft pastels for the very first time!! I have fallen in love with pastels!!
Here are some of my drawings/pictures:
Sometimes the artist within me can express herself easily , like water flowing from a strong river or fountain....Flowers are my ultimate favourite object to sketch!
Here are some of my drawings/pictures:
| This is myself |
| I like still life a lot |
Sometimes the artist within me can express herself easily , like water flowing from a strong river or fountain....Flowers are my ultimate favourite object to sketch!
Saturday, 10 November 2012
Lip balm making.
Have you ever tried creating homemade cosmetics of any sort? Me? Never. Well at least not until now.
I bought a nifty wee kit off the popular Ebay and it arrived today.
To make lip balms, all you basically need is the following ingredients (to make approx. 12 tubes):
4 oz carrier oil
30g pure beeswax
5 ml flavouring oil (I used apple)
Method:
I used lip balm tubes but you can also get empty pots with lids at any good craft store or do a search on ebay. I will give these to friends and family - however, please note that if you are planning to sell these on at any scale in the UK or EU, you need to be aware of the legal side of selling handmade cosmetics and you most likely will require what is known as a Cosmetic Safety Assessment. (This is extremely important - please Google for further information)
What will you create today?
I bought a nifty wee kit off the popular Ebay and it arrived today.
To make lip balms, all you basically need is the following ingredients (to make approx. 12 tubes):
4 oz carrier oil
30g pure beeswax
5 ml flavouring oil (I used apple)
Method:
- Place the beeswax into a jar and place this in a pot of hot water that is just gently simmering , not boiling.
- Stir now and again , and once the beeswax has started to melt a little, add the 4oz of carrier oil and mix at intervals.
- Once the beeswax has melted, lift out of the pot and set aside.
- Allow to cool slightly then add the flavouring oil, using a pipette.
- Mix thoroughly then pour into the empty lip balm tubes.
- Allow to cool thoroughly, then place caps on.
- Stick on some homemade labels and voila!!
| I used Safflower oil as the carrier oil but Jojoba/Sweet Almond oil is just as effective |
| I designed these labels from my own computer. |
| Here are the applied labels!! |
I used lip balm tubes but you can also get empty pots with lids at any good craft store or do a search on ebay. I will give these to friends and family - however, please note that if you are planning to sell these on at any scale in the UK or EU, you need to be aware of the legal side of selling handmade cosmetics and you most likely will require what is known as a Cosmetic Safety Assessment. (This is extremely important - please Google for further information)
What will you create today?
Subscribe to:
Posts (Atom)