Materials used were: MDF Square mirror, tesserae (mosaic tiles), grout, PVA glue.
This really was simple to make.
- First you take your tiles and arrange them on your wooden blank, then take some PVA glue and glue them on.
- Allow to dry for at least 24 hours ~ longer if possible.
- Apply the grout (ready made or grout powder to make your own is fine) in between the spaces
- Smooth over, and within 5 - 10 minutes go over each tile with a damp clean cloth and wipe away the excess grout.
Et, Voila!
You can basically make anything by decorating blanks with mosaic tiles.
You can basically make anything by decorating blanks with mosaic tiles.
* * *
Here is a second project I have started just recently:
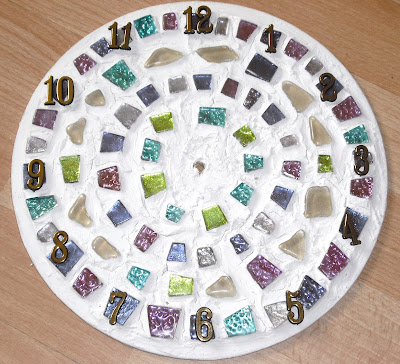
The materials I used are a circular wooden blank disc with a hole drilled into the centre, clock hands & mechanism set, clock adhesive numbers tiles, PVA glue, ready-made grout.
Step 1
As with the above project , I lined the tiles firstly on the disc in a nice pattern, glued them using PVA glue.
Then I filled in the gaps with the grout , and let it 'set' for 24 hours.
As with the above project , I lined the tiles firstly on the disc in a nice pattern, glued them using PVA glue.
Then I filled in the gaps with the grout , and let it 'set' for 24 hours.
Step 2
I then attached the adhesive numbers around the clock perimeter
Step 3
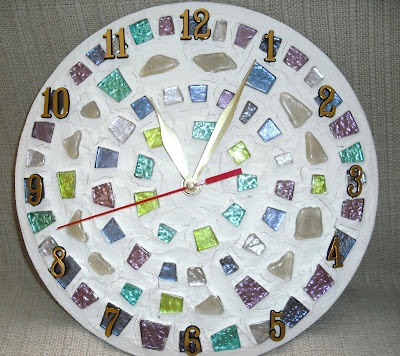
Finally, I fastened the clock mechanism on the back & the clock hands on the front.
There you have it! A handmade mosaic clock!!


No comments:
Post a Comment